
Articles
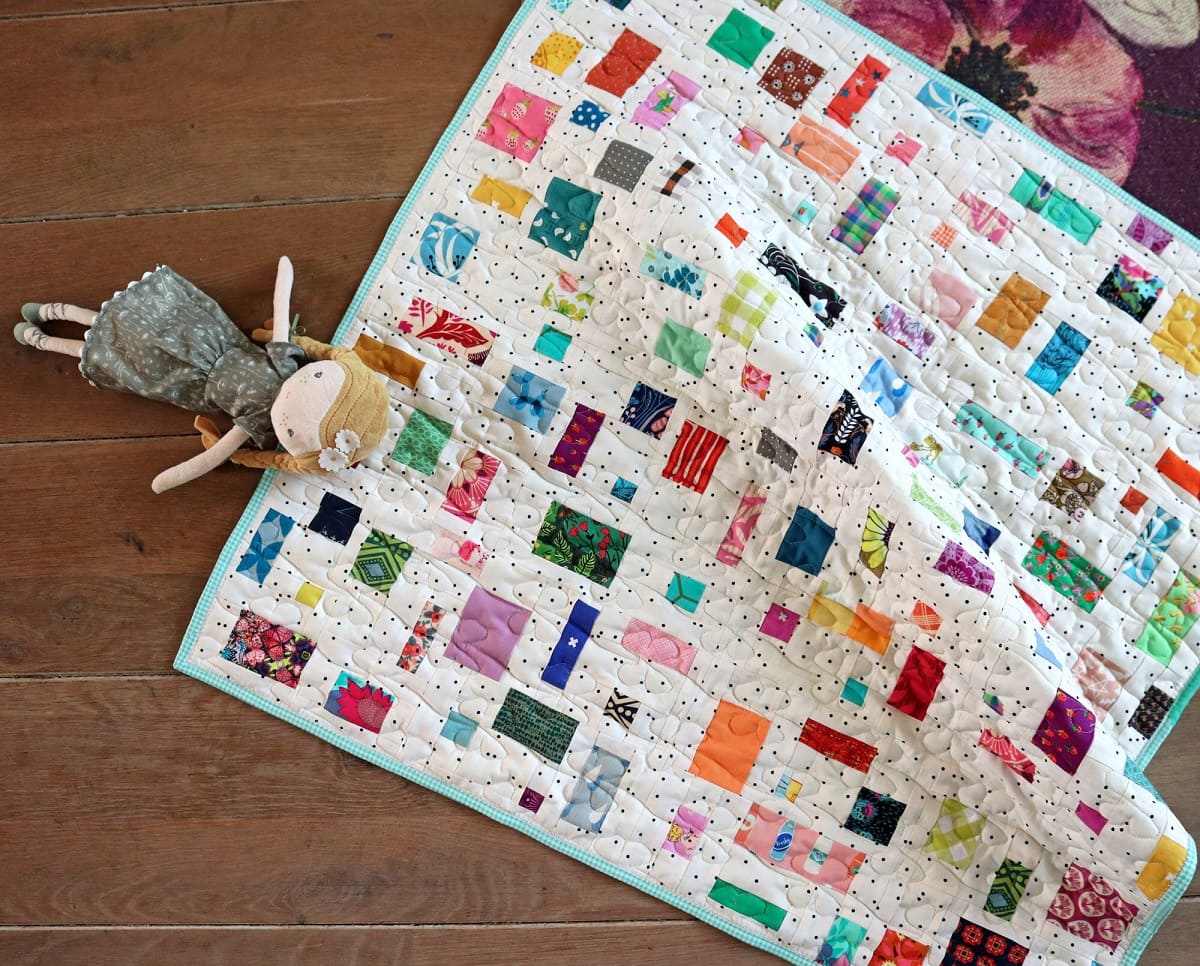
How To Make A Watercolor Quilt
Modified: December 7, 2023
Learn the art of creating beautiful watercolor quilts with our step-by-step articles. Discover techniques, tips, and ideas to make your own unique masterpiece.
(Many of the links in this article redirect to a specific reviewed product. Your purchase of these products through affiliate links helps to generate commission for Storables.com, at no extra cost. Learn more)
Introduction
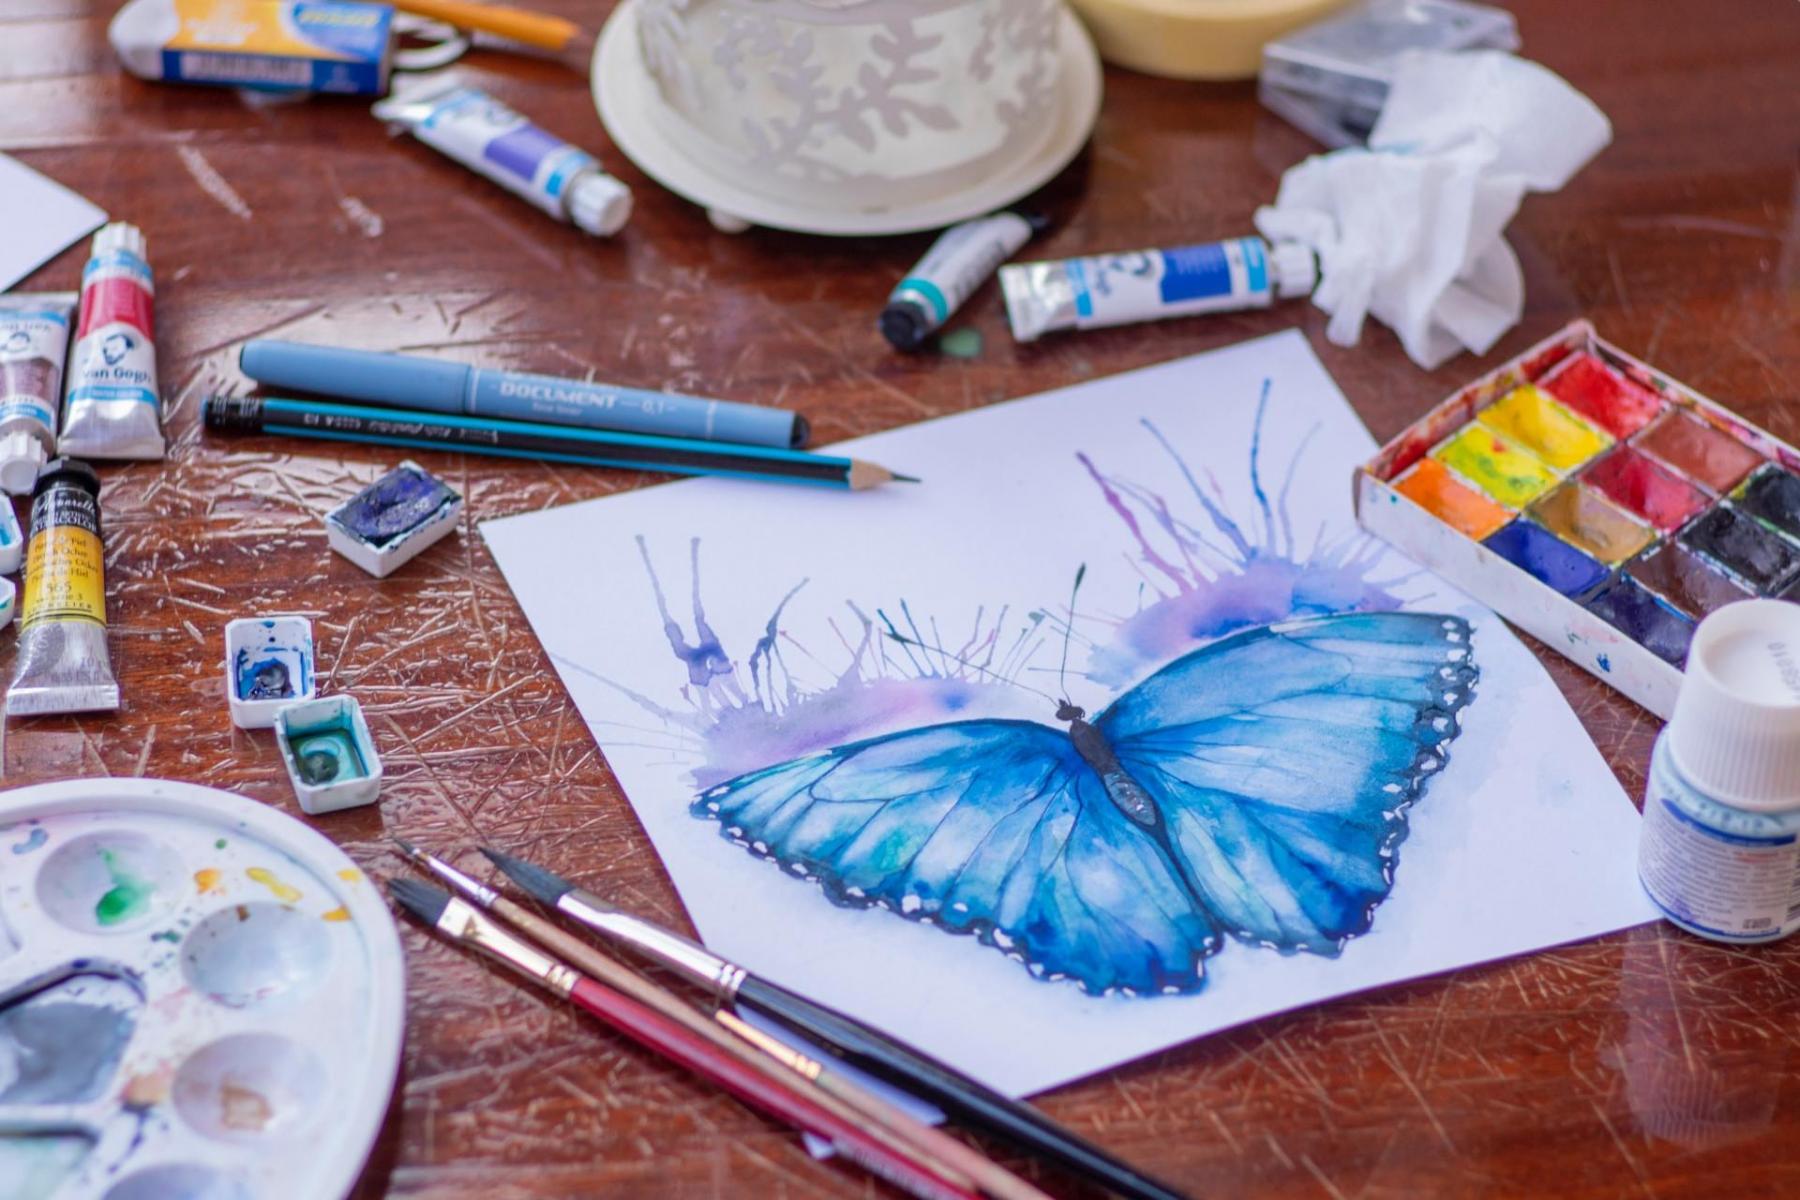
Welcome to the wonderful world of watercolor quilting! If you’re looking to create a stunning and unique quilt that resembles the soft, flowing colors of a watercolor painting, then you’ve come to the right place.
Watercolor quilts are a beautiful way to showcase your creativity and add a touch of artistic flair to your home. The technique involves combining fabric in a way that mimics the blending and transparency of watercolors, resulting in a visually stunning finished product.
In this article, we’ll guide you through the process of creating your own watercolor quilt from start to finish. We’ll provide you with a list of materials you’ll need, as well as step-by-step instructions on how to achieve the watercolor effect and assemble your quilt. So, let’s dive in and get started on this exciting quilting adventure!
Key Takeaways:
- Dive into the world of watercolor quilting and create a visually stunning masterpiece that combines the artistry of painting with the timeless craft of quilting. Let your creativity flow and enjoy the journey of transforming fabric into a work of art.
- From preparing the fabric to assembling the quilt, quilting, and adding the finishing touches, each step contributes to the creation of a unique and visually captivating watercolor quilt. Embrace the imperfections and enjoy the creative journey as you bring your artistic vision to life.
Read more: How To Paint Watercolor Greenery
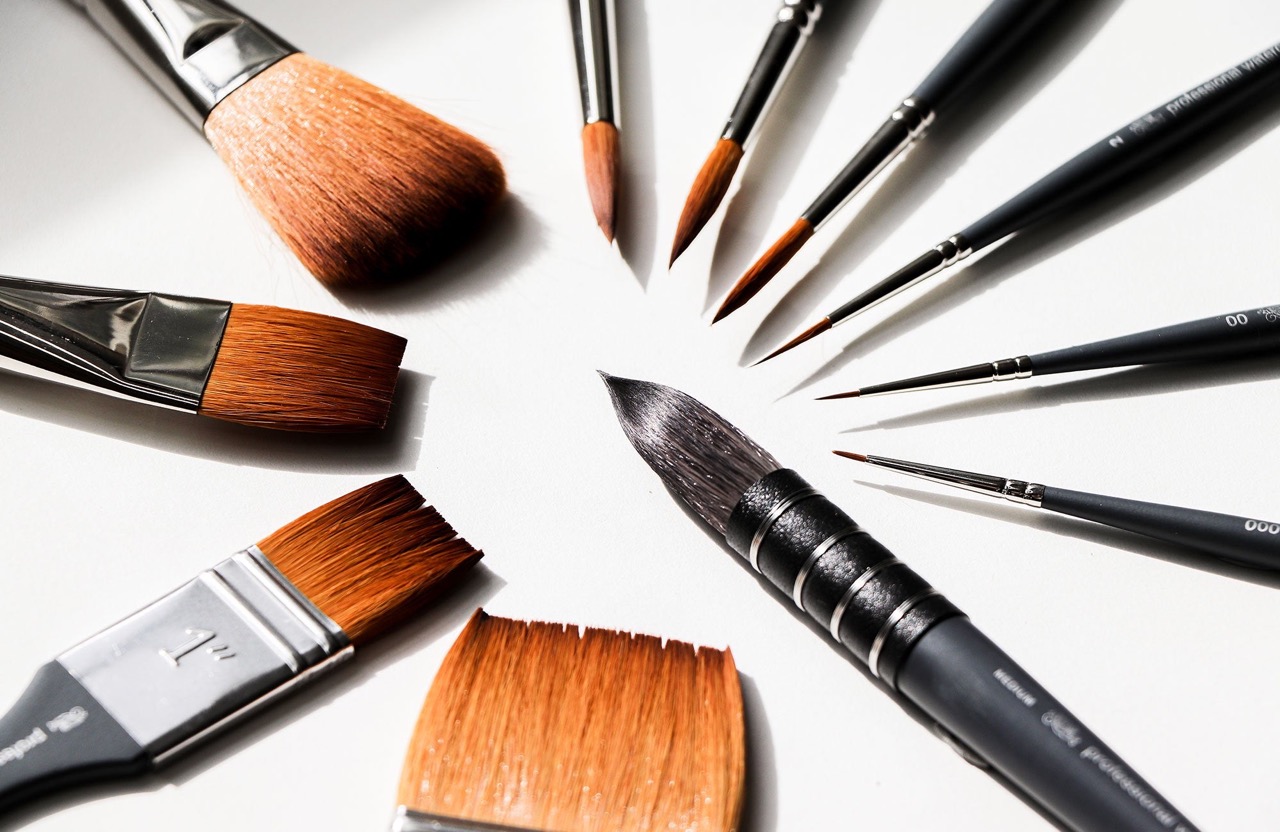
Materials Needed
Before we begin, let’s gather all the materials you’ll need to create your watercolor quilt:
- Fabric: Choose a variety of fabrics in different colors and patterns. Opt for lightweight cotton fabrics that are easy to work with and will blend well together.
- Rotary Cutter and Mat: These tools will make cutting your fabric precise and efficient. Make sure to have a sharp blade and a self-healing mat for durability.
- Ruler: A clear quilting ruler will help you achieve accurate measurements while cutting.
- Iron and Ironing Board: You’ll need these to press your fabric and seams for crisp edges.
- Pins and Needles: Straight pins will be useful for securing fabric pieces together, and hand-sewing needles for any necessary stitching.
- Sewing Machine: A sewing machine with a straight stitch and zigzag stitch capability will be used for piecing and quilting your project.
- Thread: Choose a high-quality cotton thread that matches the colors of your fabric.
- Batting: Select a batting that suits the desired warmth and loft for your quilt.
- Quilting Ruler and Marking Tools: These tools will be helpful for marking and quilting designs on your quilt top.
- Scissors: Sharp fabric scissors will be essential for trimming threads and cutting fabric as needed.
- Binding Materials: Prepare enough fabric for the binding, including fabric strips and binding clips.
Having all these materials ready will ensure a smooth and enjoyable quilting process.
Step 1: Preparing the Fabric
Before you can create your watercolor quilt, it’s essential to prepare the fabric. Follow these steps to ensure your fabric is ready for the quilting process:
- Wash the Fabric: Start by washing all the fabric you’ll be using in cold water. This step will remove any shrinkage and make the fabric easier to work with.
- Press the Fabric: Once the fabric is dry, use an iron to press it flat. This will eliminate any wrinkles or creases that may interfere with your measurements and sewing.
- Cut the Fabric: Use a rotary cutter, mat, and quilting ruler to cut the fabric into squares or rectangles of desired sizes. For a watercolor effect, aim for varying sizes ranging from 2-5 inches.
- Arrange the Fabric: Lay out the fabric pieces in a design that pleases your eye. Play around with different combinations and color arrangements until you achieve the desired watercolor effect.
- Take a Photo: Once you’re satisfied with the fabric placement, take a photo for reference. This will come in handy when it’s time to assemble the quilt.
By taking these steps to prepare your fabric, you’ll ensure that it’s clean, wrinkle-free, and ready for the next stage of the quilting process. Now that the fabric is ready, let’s move on to creating the watercolor effect!
Step 2: Creating the Watercolor Effect
Now that your fabric is prepared, it’s time to bring the watercolor effect to life. Follow these steps to achieve the beautiful blending and transparency reminiscent of watercolors:
- Lay Out the Fabric: Start by laying out your fabric pieces on a design wall or a large flat surface. Refer to the photo you took in the previous step to recreate the arrangement.
- Blend Colors: Take a step back and assess the overall color composition. Look for areas where colors transition smoothly and blend together seamlessly. Rearrange fabric pieces as needed to achieve a balanced watercolor effect.
- Overlap and Layer: To create depth and dimension, experiment with overlapping fabric pieces and layering them on top of each other. This technique will give your quilt a more dynamic and painterly look.
- Pin or Glue: Once you’re satisfied with the arrangement, secure the fabric pieces together by either pinning them in place or using a fabric glue. Be sure not to shift the fabric as you secure it.
- Press and Fuse: After pinning or gluing, use a hot iron to press the fabric pieces. This will help fuse them together for easier handling during the next steps.
By following these steps, you’ll be able to create a stunning watercolor effect on your quilt. The blending and layering of colors will give it a unique and artistic appearance. Now, onto the next step of assembling the quilt!
When making a watercolor quilt, start by selecting a color scheme and then choose fabrics in varying shades of those colors to create a gradient effect in your quilt blocks.
Step 3: Assembling the Quilt
Now that you have successfully created the watercolor effect with your fabric pieces, it’s time to assemble your quilt. Follow these steps to bring your quilt top together:
- Prepare the Background Fabric: Cut a piece of background fabric large enough to accommodate your watercolor design. Ensure that it is larger than your desired final quilt size to allow for seam allowances.
- Arrange the Watercolor Pieces: Lay your watercolor fabric pieces on top of the background fabric, referring to the photo you took earlier for guidance. Arrange them in the same pattern and configuration that you desired.
- Pin or Baste: Once you’re satisfied with the layout, pin or baste the watercolor fabric pieces to the background fabric. This will keep them in place as you proceed with the quilting process.
- Sew the Rows: Starting from the top row, sew the fabric pieces together using a quarter-inch seam allowance. Continue sewing row by row until all the watercolor pieces are pieced together.
- Press the Seams: After sewing each row, press the seams to one side. This will help the quilt lay flat and create a more polished appearance.
- Join the Rows: Once all the rows are sewn, carefully join them together, matching the seams. Use pins to secure the rows before stitching them together.
By following these steps, you’ll be able to assemble your watercolor quilt top with precision and ensure that all the fabric pieces are securely sewn together. Now, let’s move on to the next step: quilting and binding!
Read more: How To Make A Quilt
Step 4: Quilting and Binding
With your quilt top assembled, it’s time to quilt and bind your watercolor quilt. Follow these steps to complete the final stages of the quilting process:
- Prepare the Quilt Sandwich: Lay your quilt backing fabric on a flat surface, right side down. Place the batting on top of the backing fabric, followed by your quilt top, right side up. Smooth out any wrinkles or folds.
- Pin or Baste the Layers: Pin or baste the layers of the quilt sandwich together to prevent shifting during quilting. Begin in the center and work your way outward, ensuring that the layers are secure.
- Choose a Quilting Design: Decide on the quilting design you want to use for your watercolor quilt. You can opt for simple straight-line quilting, free-motion quilting, or even custom designs that enhance the watercolor effect.
- Quilt the Layers: Using your sewing machine, quilt the layers together according to your chosen design. Take your time and stitch slowly to ensure even stitches and smooth quilting lines.
- Trim the Excess Fabric: Once the quilting is complete, trim the excess fabric and batting from the edges of the quilt to create an even edge.
- Biding Preparation: Cut your fabric strips for binding, ensuring they are long enough to cover the perimeter of the quilt. Fold and press the binding strips in half lengthwise.
- Attach the Binding: Starting on one side of the quilt, align the raw edges of the binding strip with the raw edges of the quilt. Stitch the binding in place using a quarter-inch seam allowance.
- Continue Binding: Carefully fold the binding over the raw edges of the quilt and hand-stitch or machine-stitch it in place. Take your time to achieve neat corners and a finished look.
By following these steps, you’ll complete the quilting process and add a beautiful binding to your watercolor quilt. Now, onto the final step!
Step 5: Finishing Touches
Congratulations on reaching the final step of creating your watercolor quilt! Now it’s time to add those finishing touches that will truly make your quilt shine. Follow these steps to complete your watercolor masterpiece:
- Give it a final press: Before displaying or using your quilt, give it a final press to smooth out any wrinkles or creases. Use a gentle heat setting and press from the center outward.
- Inspect for any loose threads or imperfections: Take a close look at your quilt and trim any loose threads or fix any imperfections that may have occurred during the quilting process.
- Add a label: Consider adding a personalized label to your quilt. This label can include your name, date of completion, and any other details you’d like to include. It adds a personal touch and helps preserve the story of your quilt for years to come.
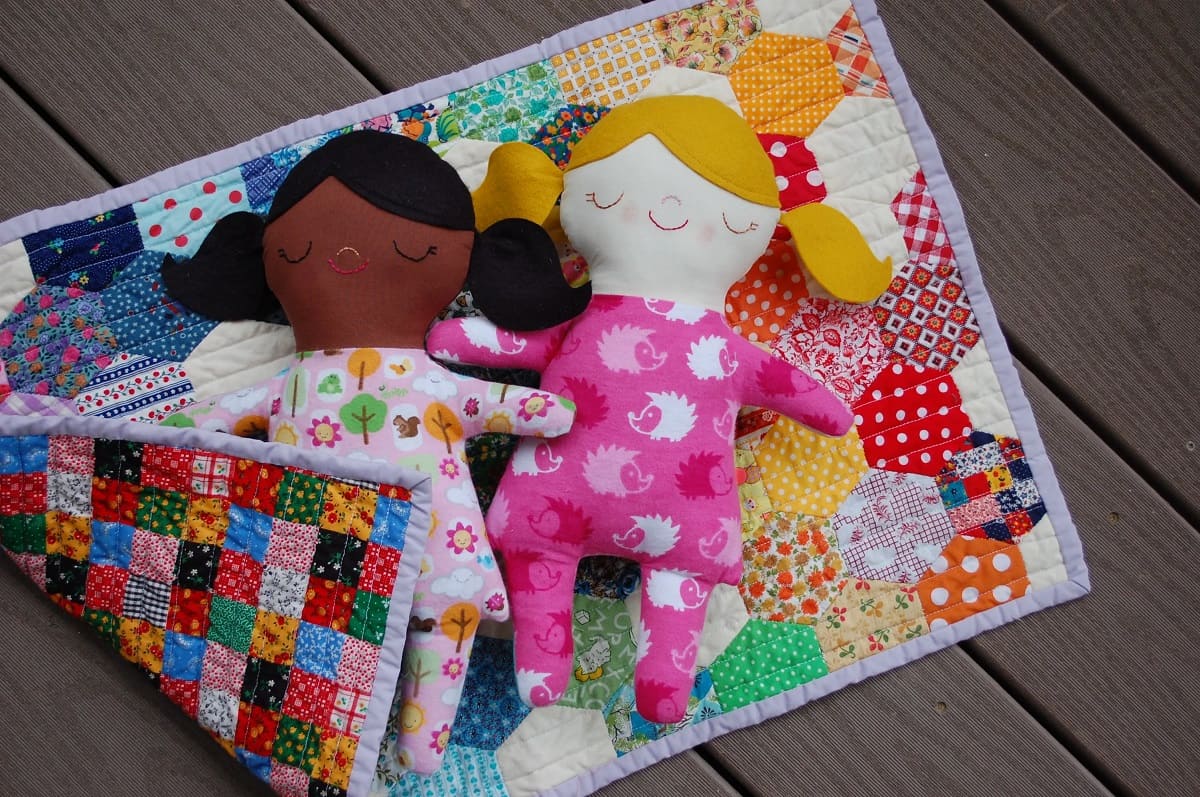
- Display or gift your masterpiece: Once your quilt is complete, it’s time to find the perfect spot to display it in your home or share it as a special gift for a loved one. Whether you choose to drape it on a couch, hang it on a wall, or gift it to someone special, your watercolor quilt is sure to be admired and cherished.
Remember, the final touches add that extra layer of care and attention to detail to your quilt, making it a true work of art. Take pride in your creation and enjoy the beauty and warmth it brings to your space.
With Step 5 complete, you have successfully completed your watercolor quilt from start to finish. Sit back, admire your masterpiece, and bask in the satisfaction of bringing your artistic vision to life through quilting. Congratulations, and happy quilting!
Conclusion
Creating a watercolor quilt is an incredible journey that allows you to combine the artistry of painting with the timeless craft of quilting. Throughout this article, we have guided you through the process of bringing your watercolor vision to life. From preparing the fabric to assembling the quilt, quilting, and adding the finishing touches, each step has contributed to the creation of a unique and visually captivating quilt.
By carefully selecting and arranging your fabric pieces, you have created a beautiful watercolor effect that mimics the blending and transparency found in paintings. The process of piecing the fabric together and quilting it has resulted in an artful masterpiece that showcases your creativity and craftsmanship.
As you completed each step, you experienced the joy of transforming raw materials into a work of art. Your watercolor quilt now holds not only the beauty of the colors and patterns but also the memories and emotions you poured into its creation.
Whether you choose to display your quilt in your home or gift it to someone special, it will serve as a testament to your skills and creativity. It will bring warmth, comfort, and a touch of artistic elegance to any space it inhabits.
Remember, the process of creating a watercolor quilt is as important as the final product. Take your time, enjoy the creative journey, and embrace the imperfections that make your quilt unique. Each stitch and fabric choice adds character and story to your quilt, making it a cherished heirloom for generations to come.
So, grab your fabric, get inspired, and let your creativity flow as you embark on your watercolor quilt adventure. Happy quilting!
Frequently Asked Questions about How To Make A Watercolor Quilt
Was this page helpful?
At Storables.com, we guarantee accurate and reliable information. Our content, validated by Expert Board Contributors, is crafted following stringent Editorial Policies. We're committed to providing you with well-researched, expert-backed insights for all your informational needs.


0 thoughts on “How To Make A Watercolor Quilt”